Daily Drawing Challenge

The Daily Drawing Challenge is an awesome group to be apart of.  John Paul Lowe, SCAD Sequential Art Professor, created this group on Facebook.  His intent for the group is to increase productivity.  Professor Lowe shares a photograph on the wall for the participating members to draw.  Have I sparked your curiosity?  Hopefully, you're questioning:  "What is the Daily Drawing Challenge?"  The rules are simple:

  1. Utilize the posted photograph to produce a finished illustration before the day is over.  
  2. Upload your drawing to the wall.

This group has over 3,000 members ranging from aspiring artists to professional artists. The most fascinating attribute about the group is witnessing the different artist styles.  The members of the group illustrate using: pencil, watercolor, ink, digital, etc.  

Now that you've been added to the group, you might ask: "Why is this group so important?" The four (4) most important reasons to join are:

  1. Promoting your art on social media 
  2. Networking with other talented artist
  3. Enhancing your drawing skills (daily) 
  4. Creating portfolio pieces

With this Facebook group, I've transformed my pencil sketches into finished inked pieces.  It's important to note these said pieces are apart of my growing portfolio.  Killing two birds with one stone!  After I complete these drawings, I post them on my Instagram, Facebook, and Behance (links can be found on the bottom right hand corner of my webpage).  I'm thinking of adding a Tumblr, Twitter and a Deviant Art account.  Why not, right?

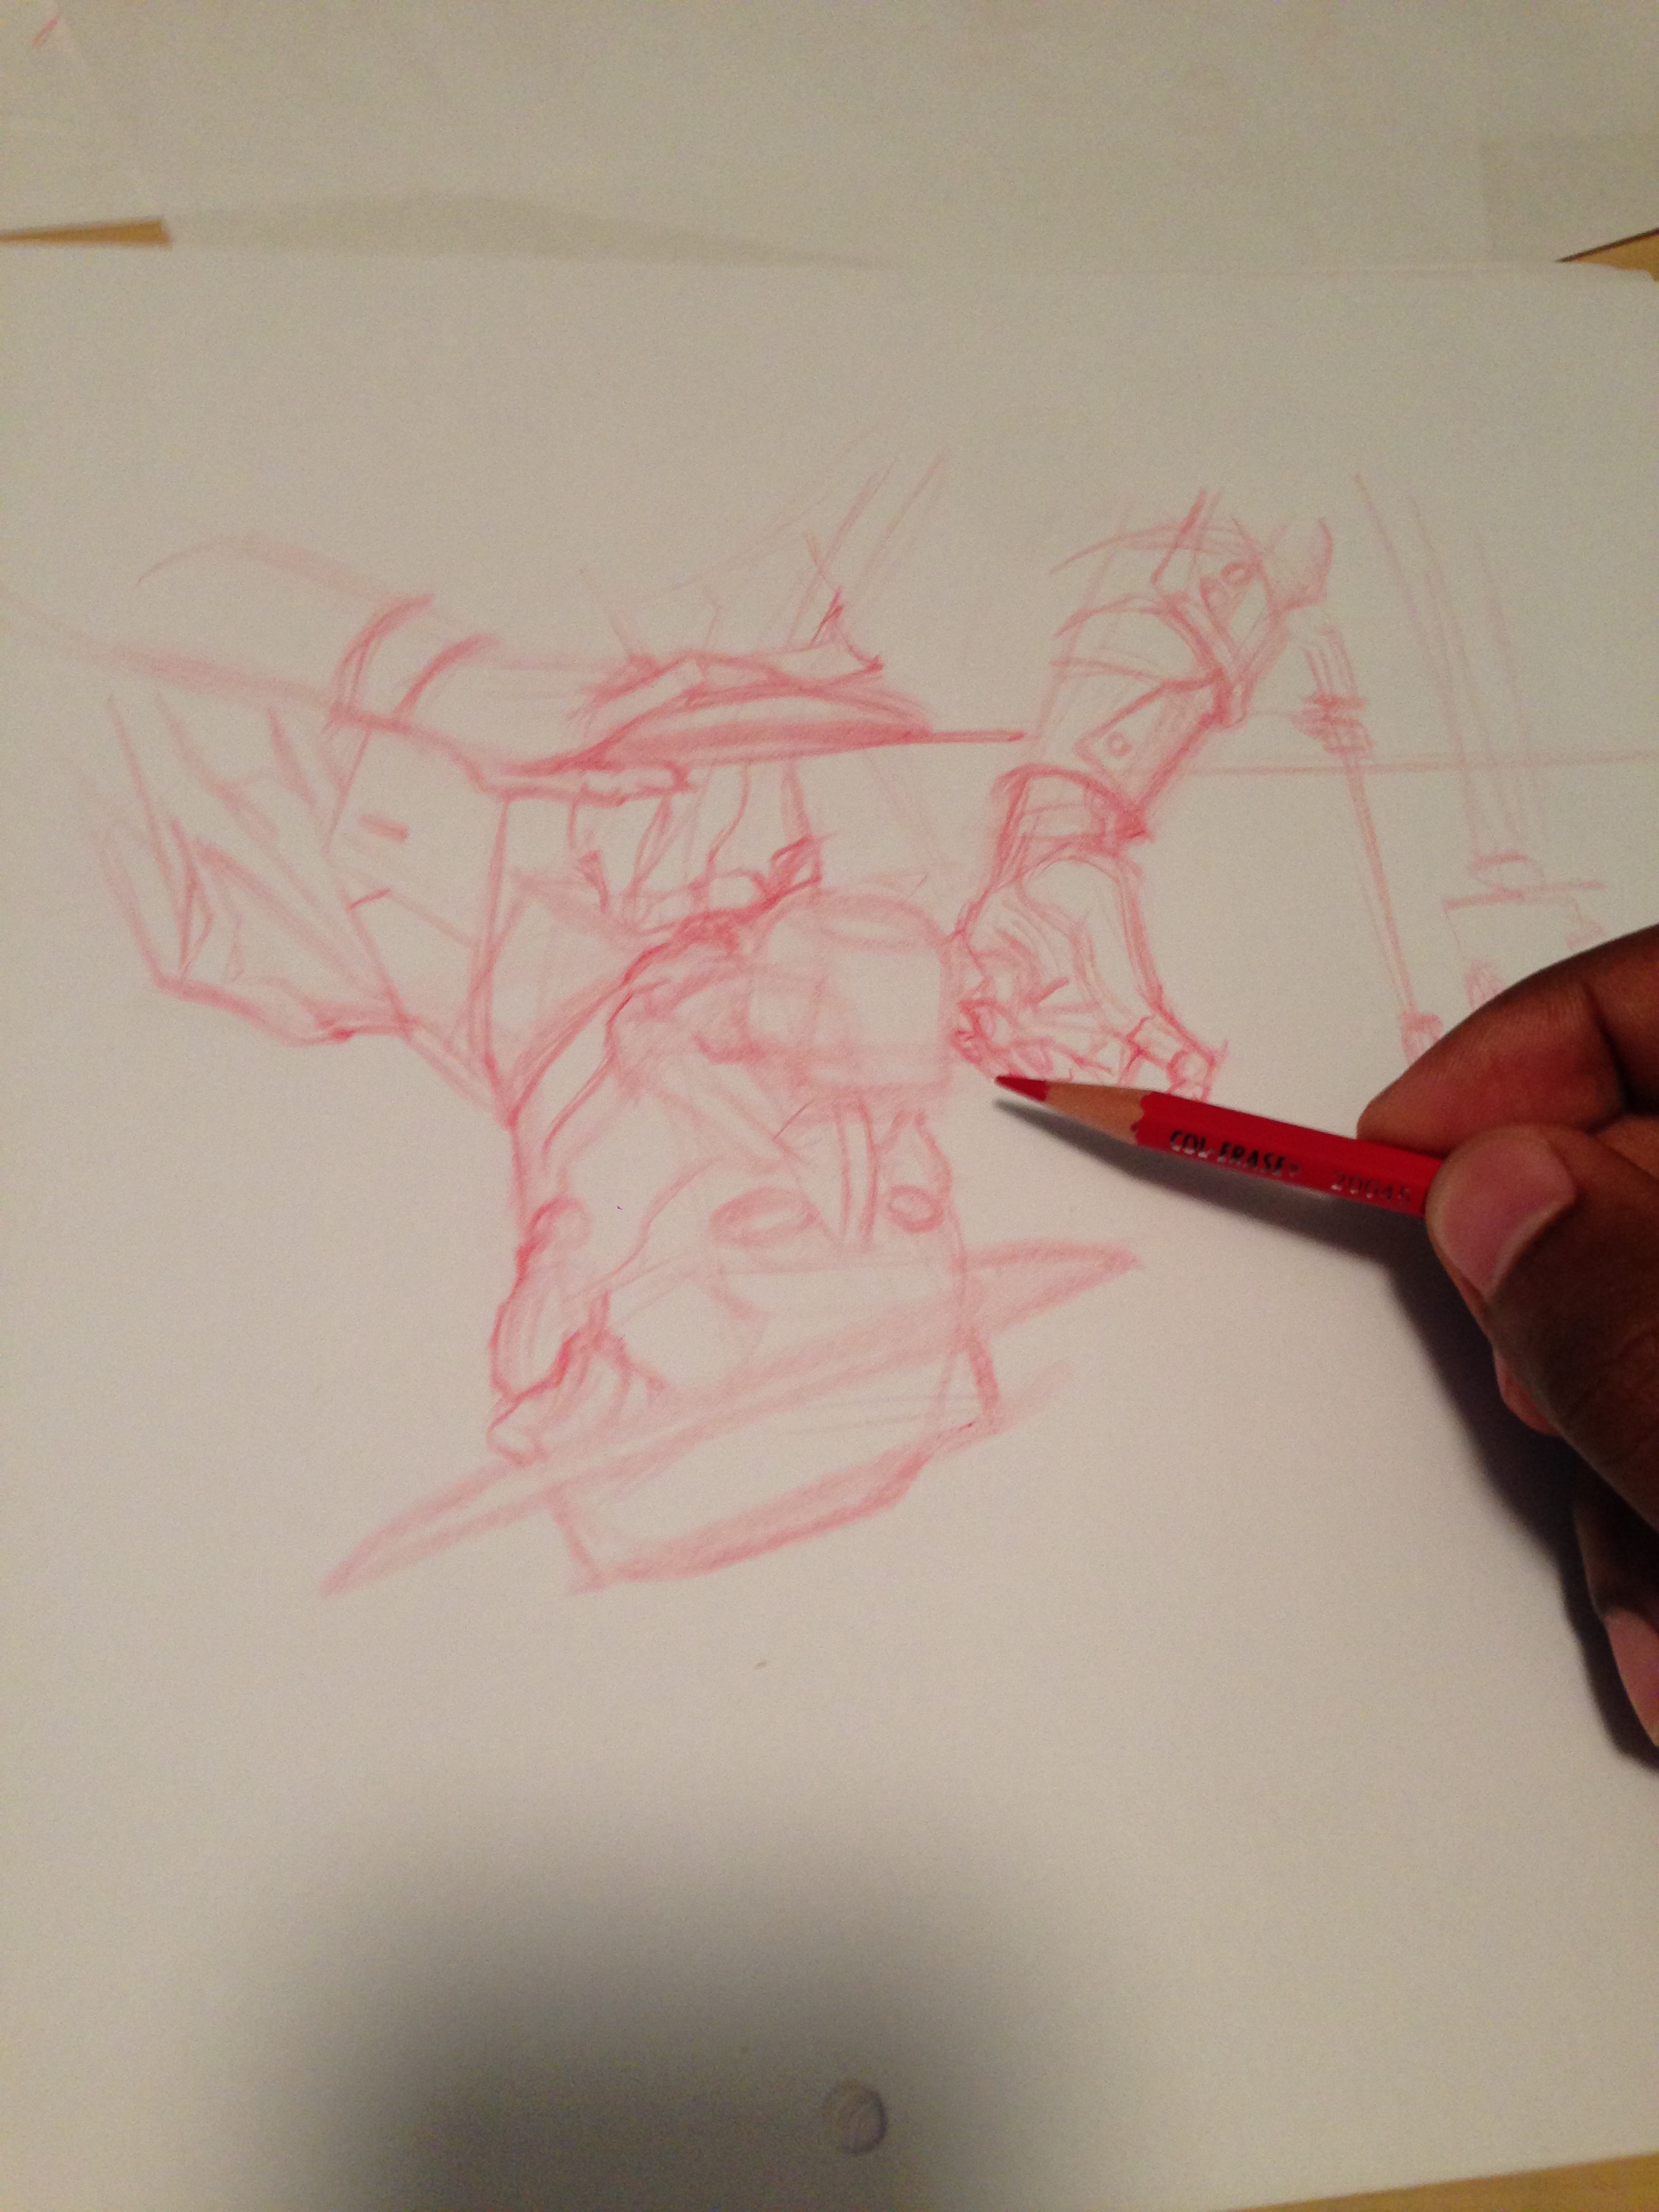
Without further ado, here are some of my sketches from the Daily Drawing Challenge.  


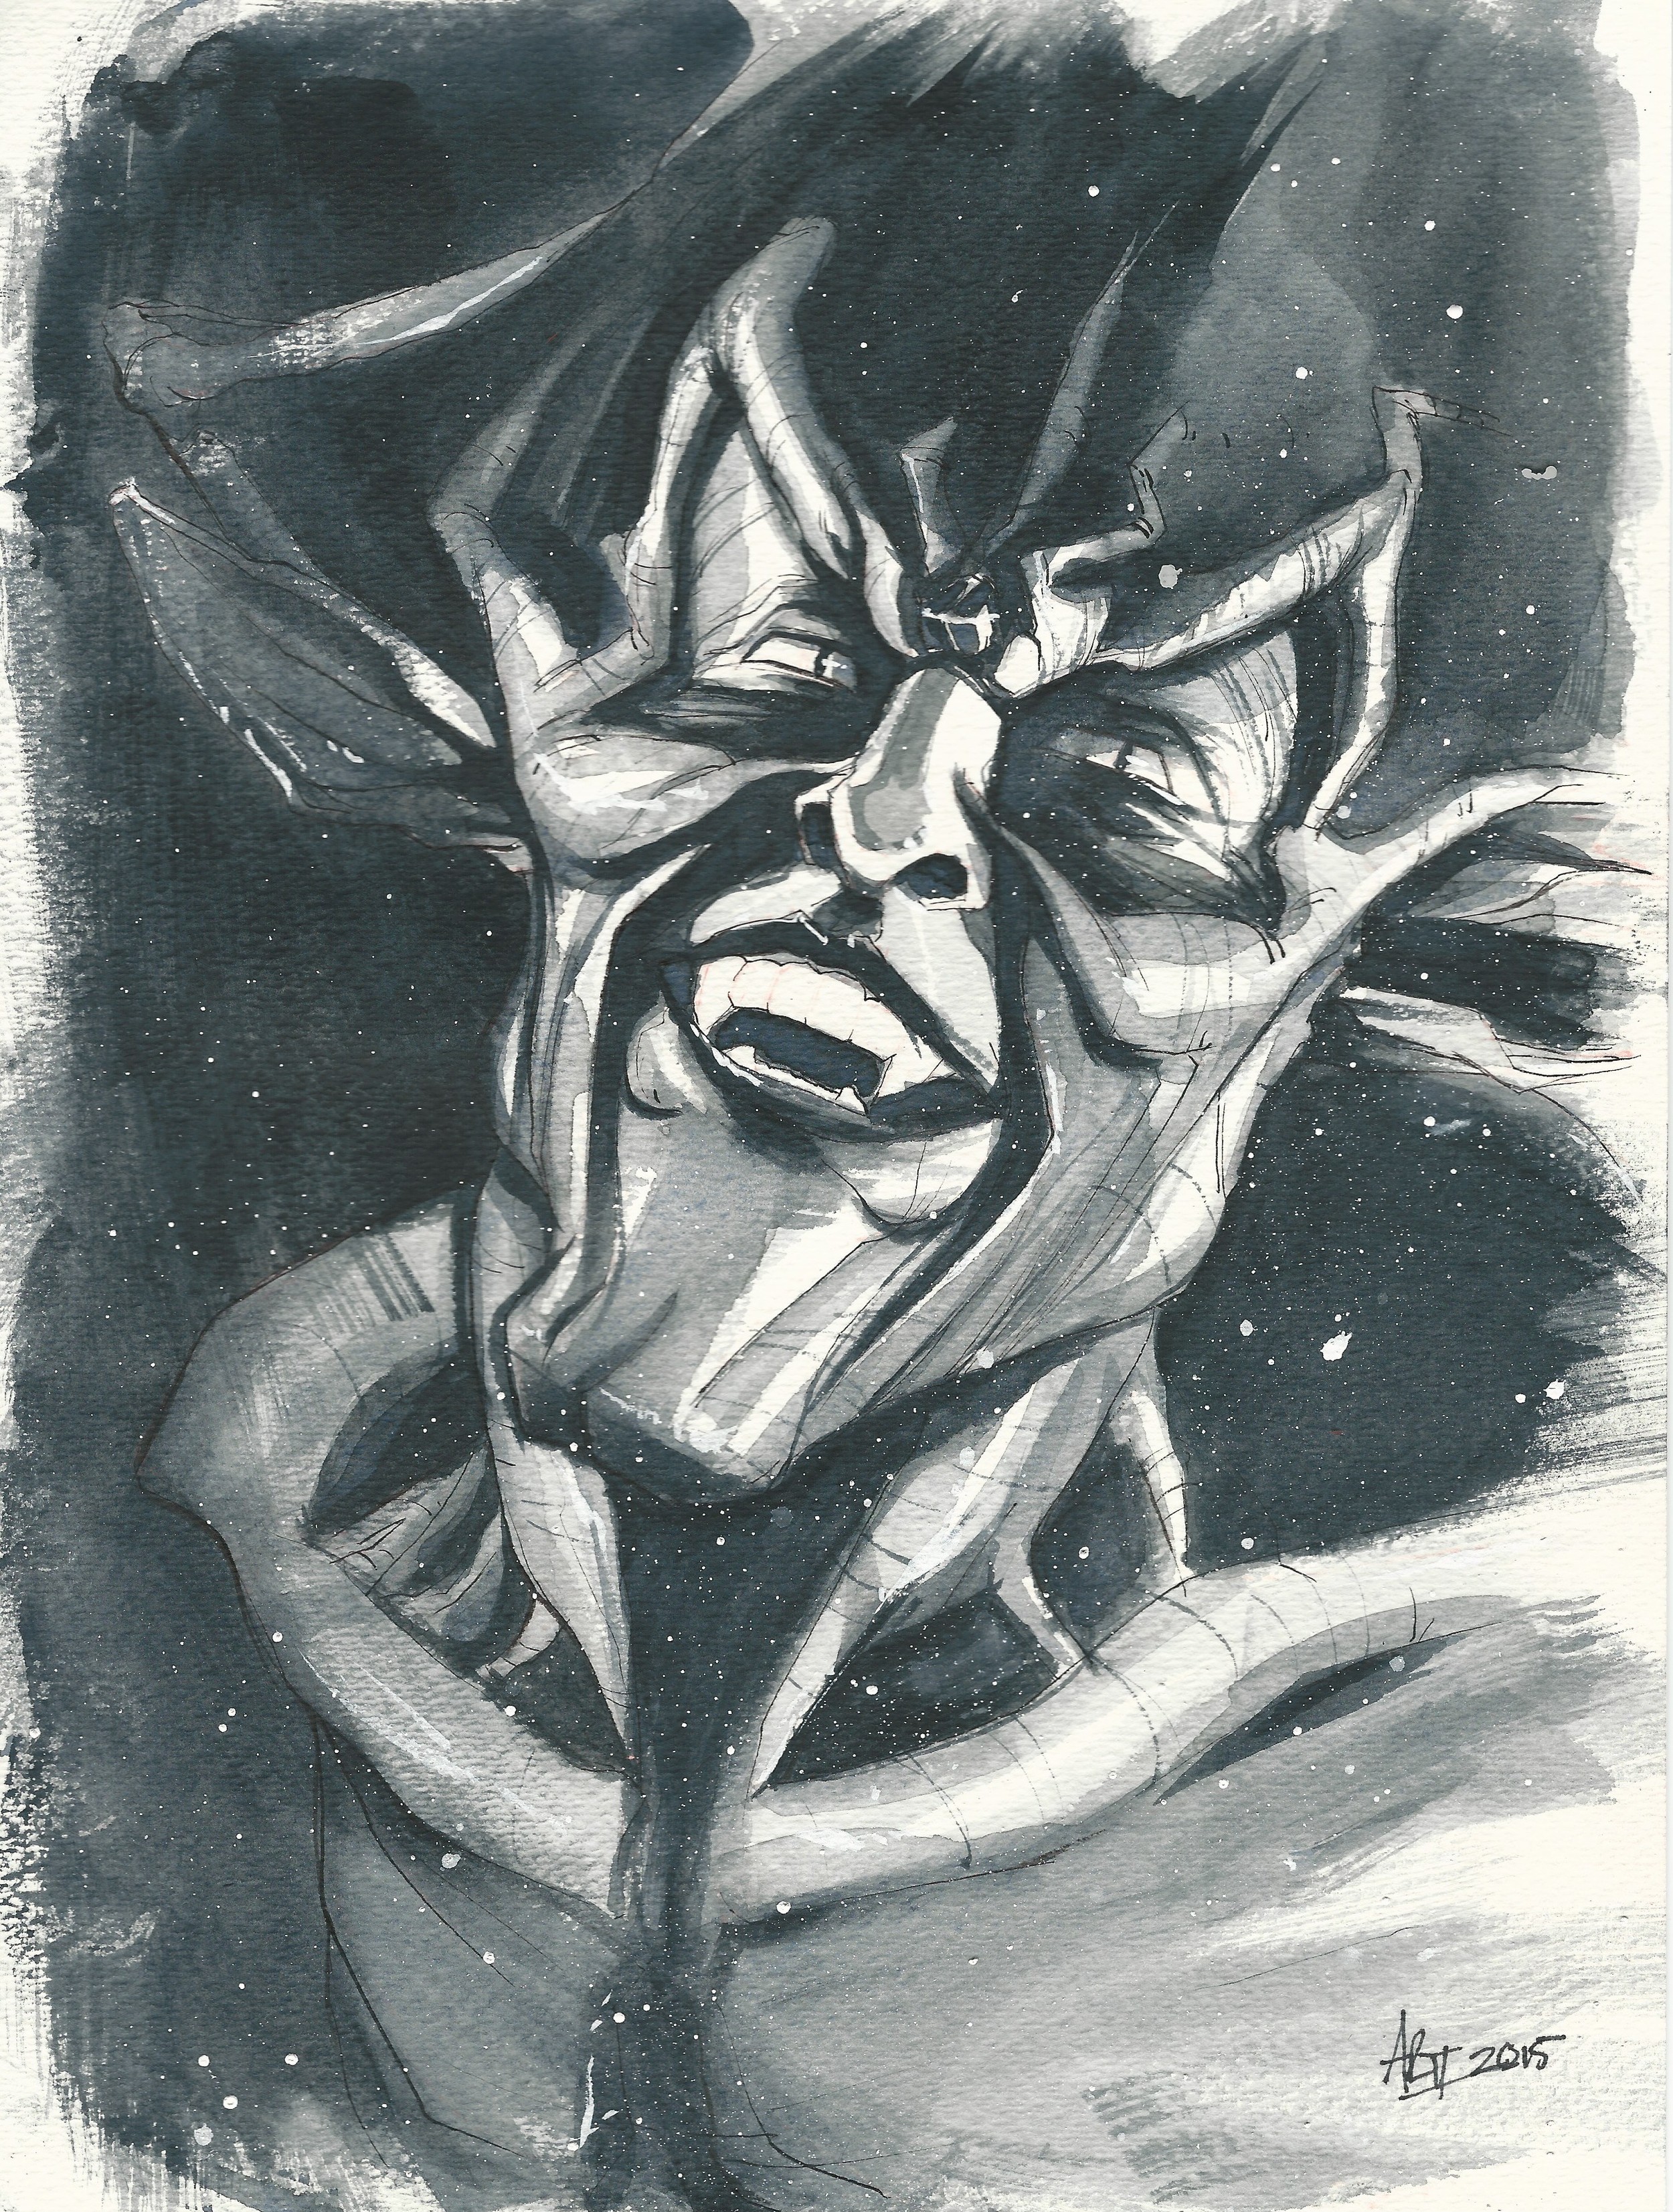
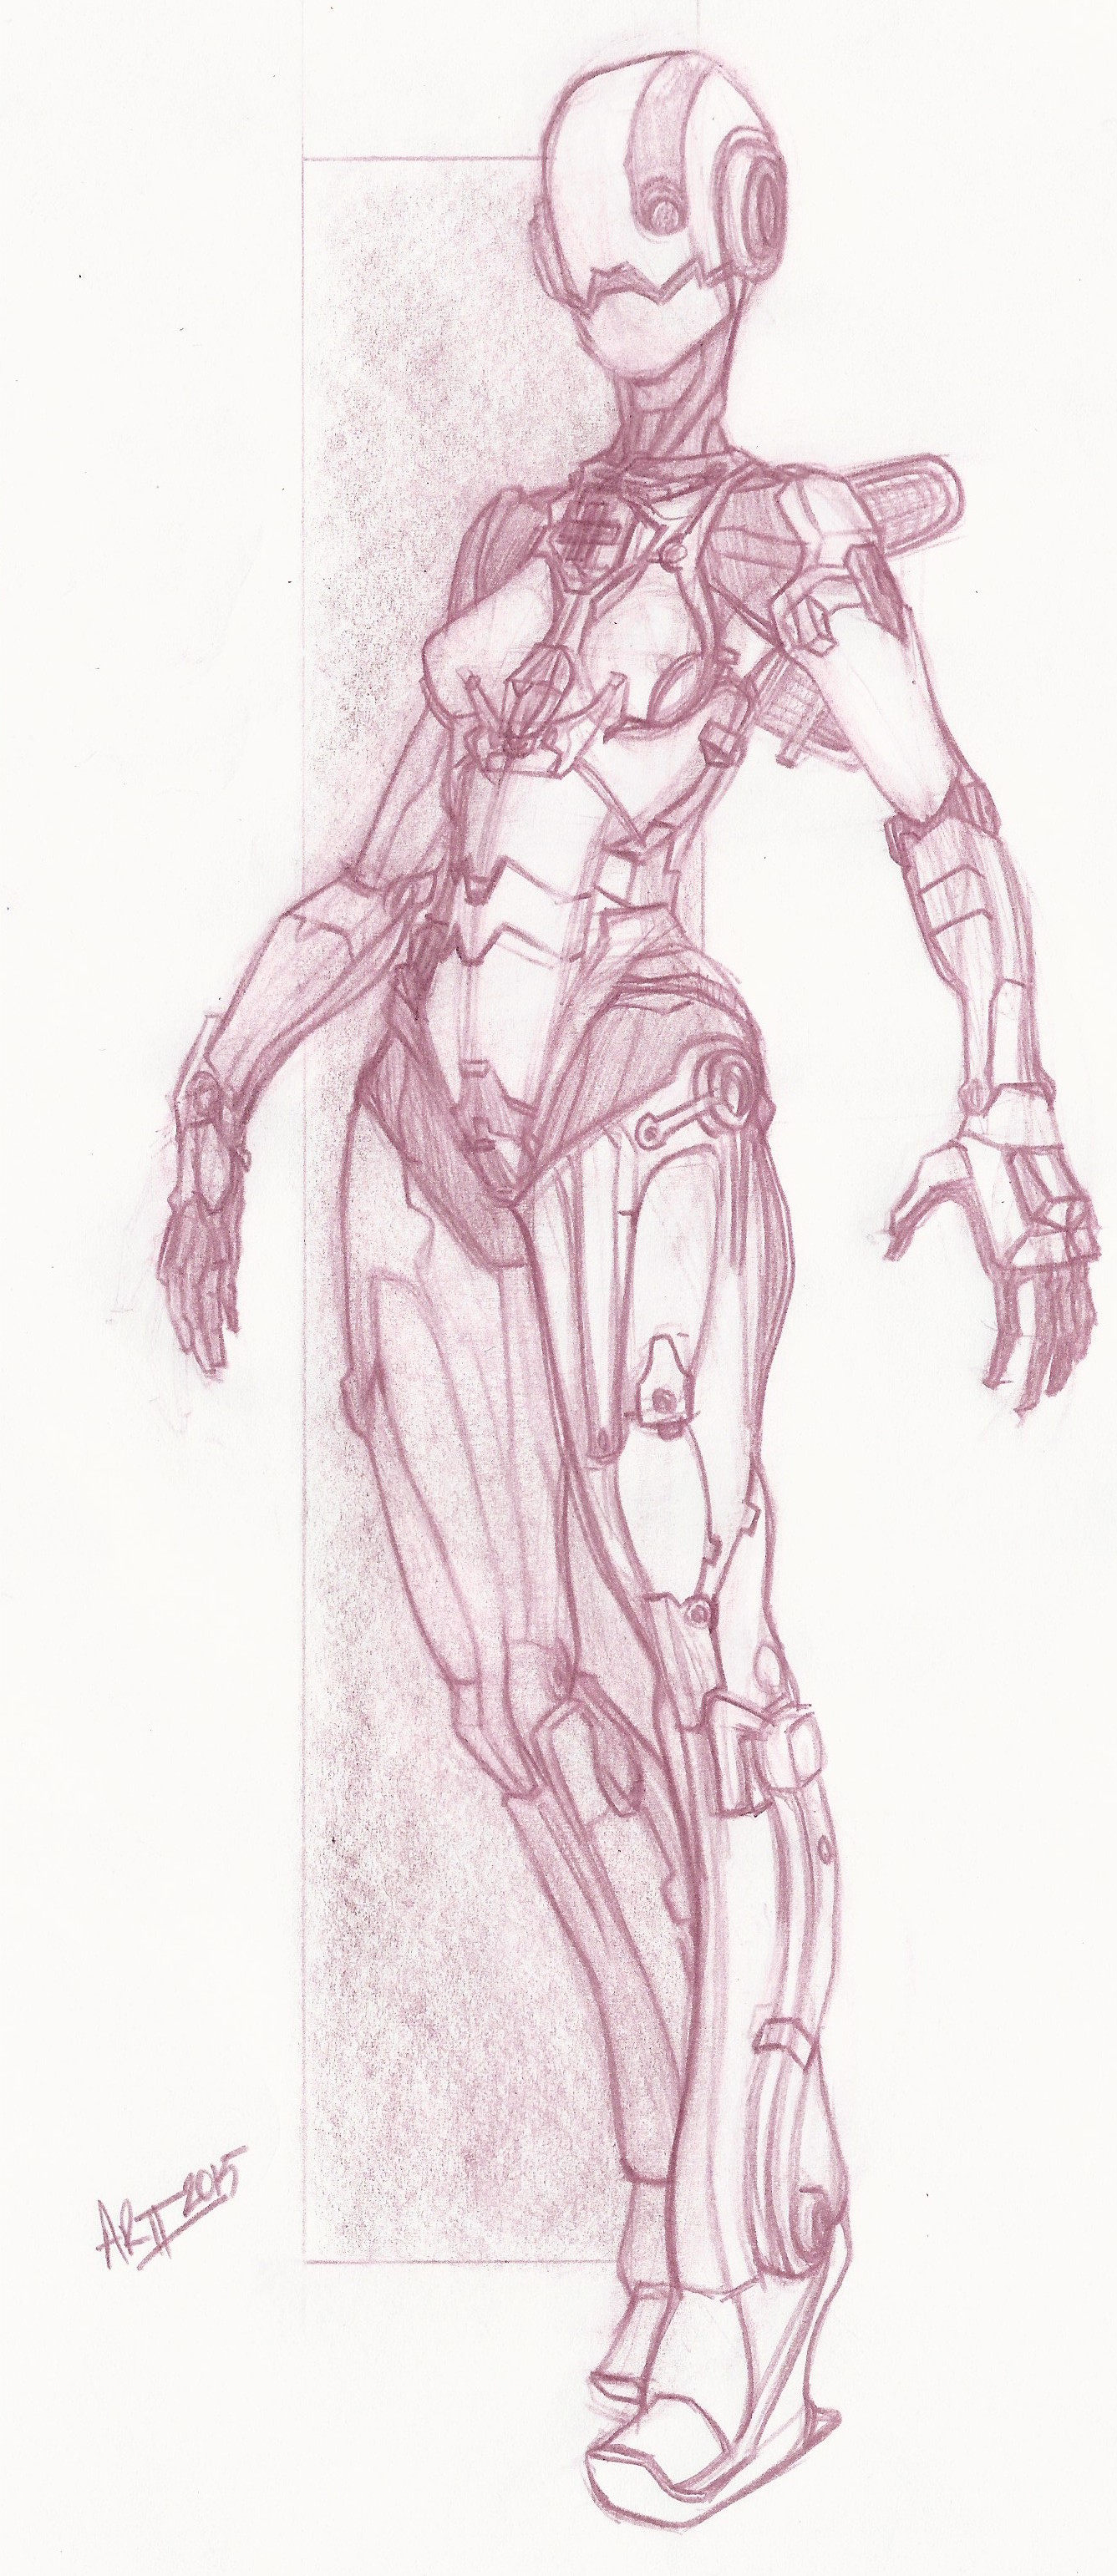
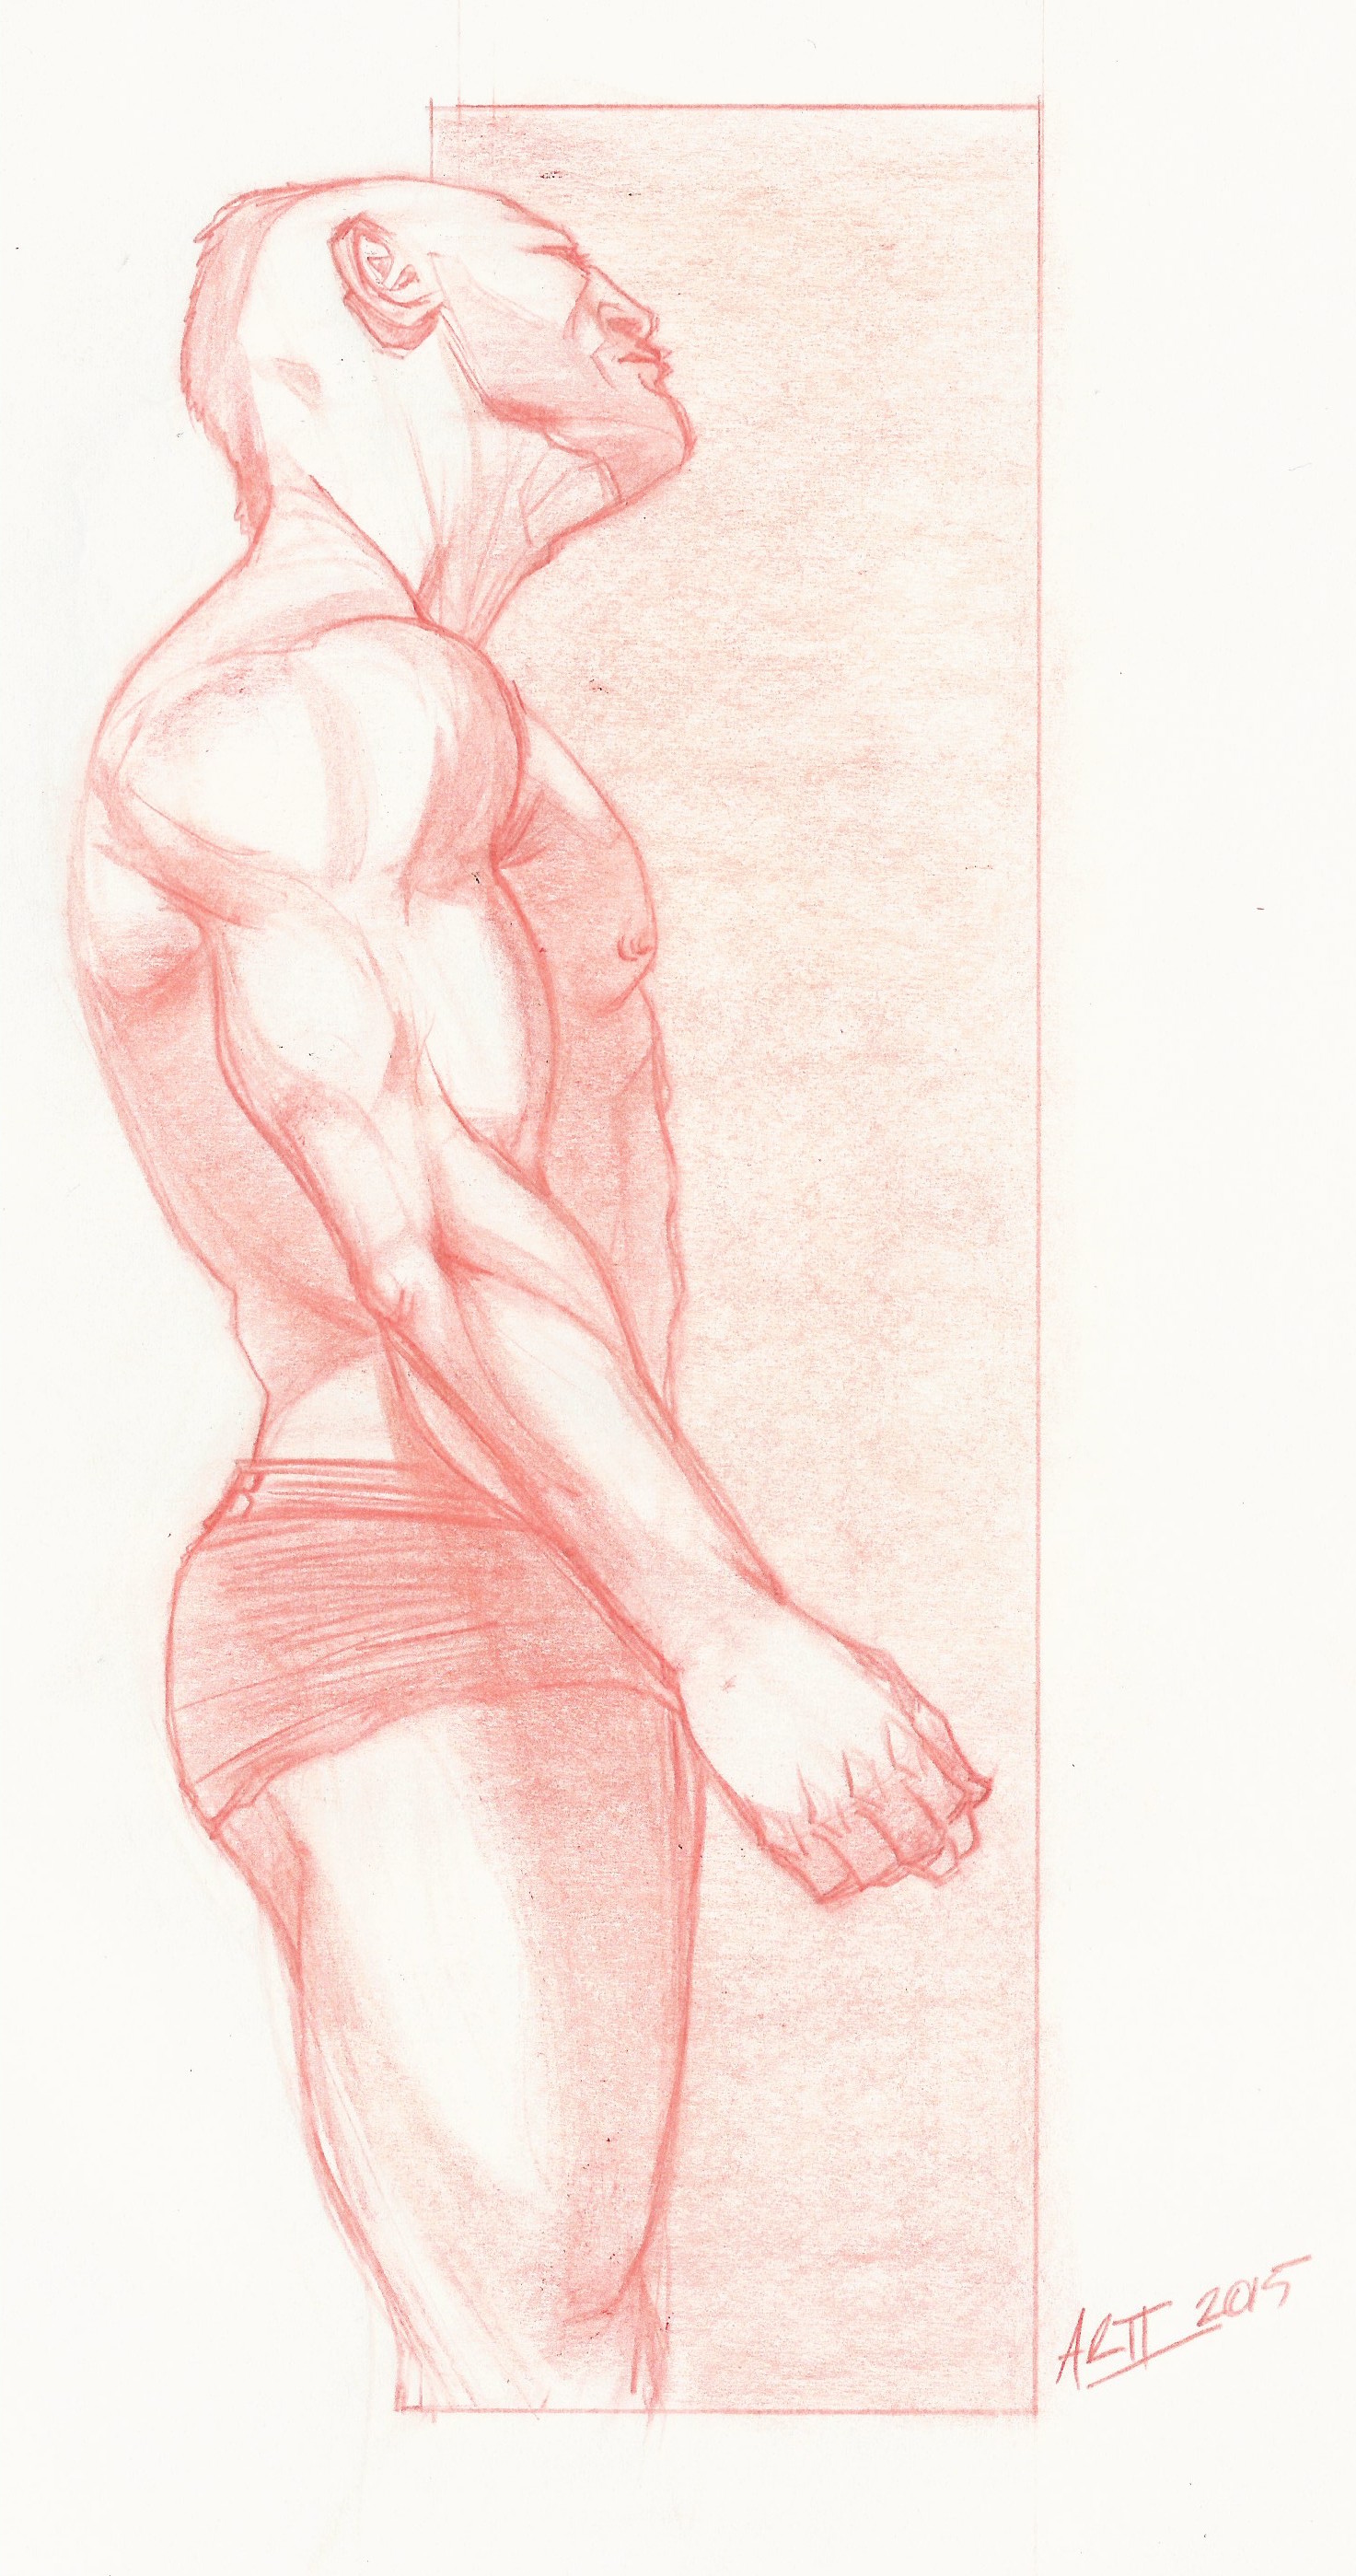
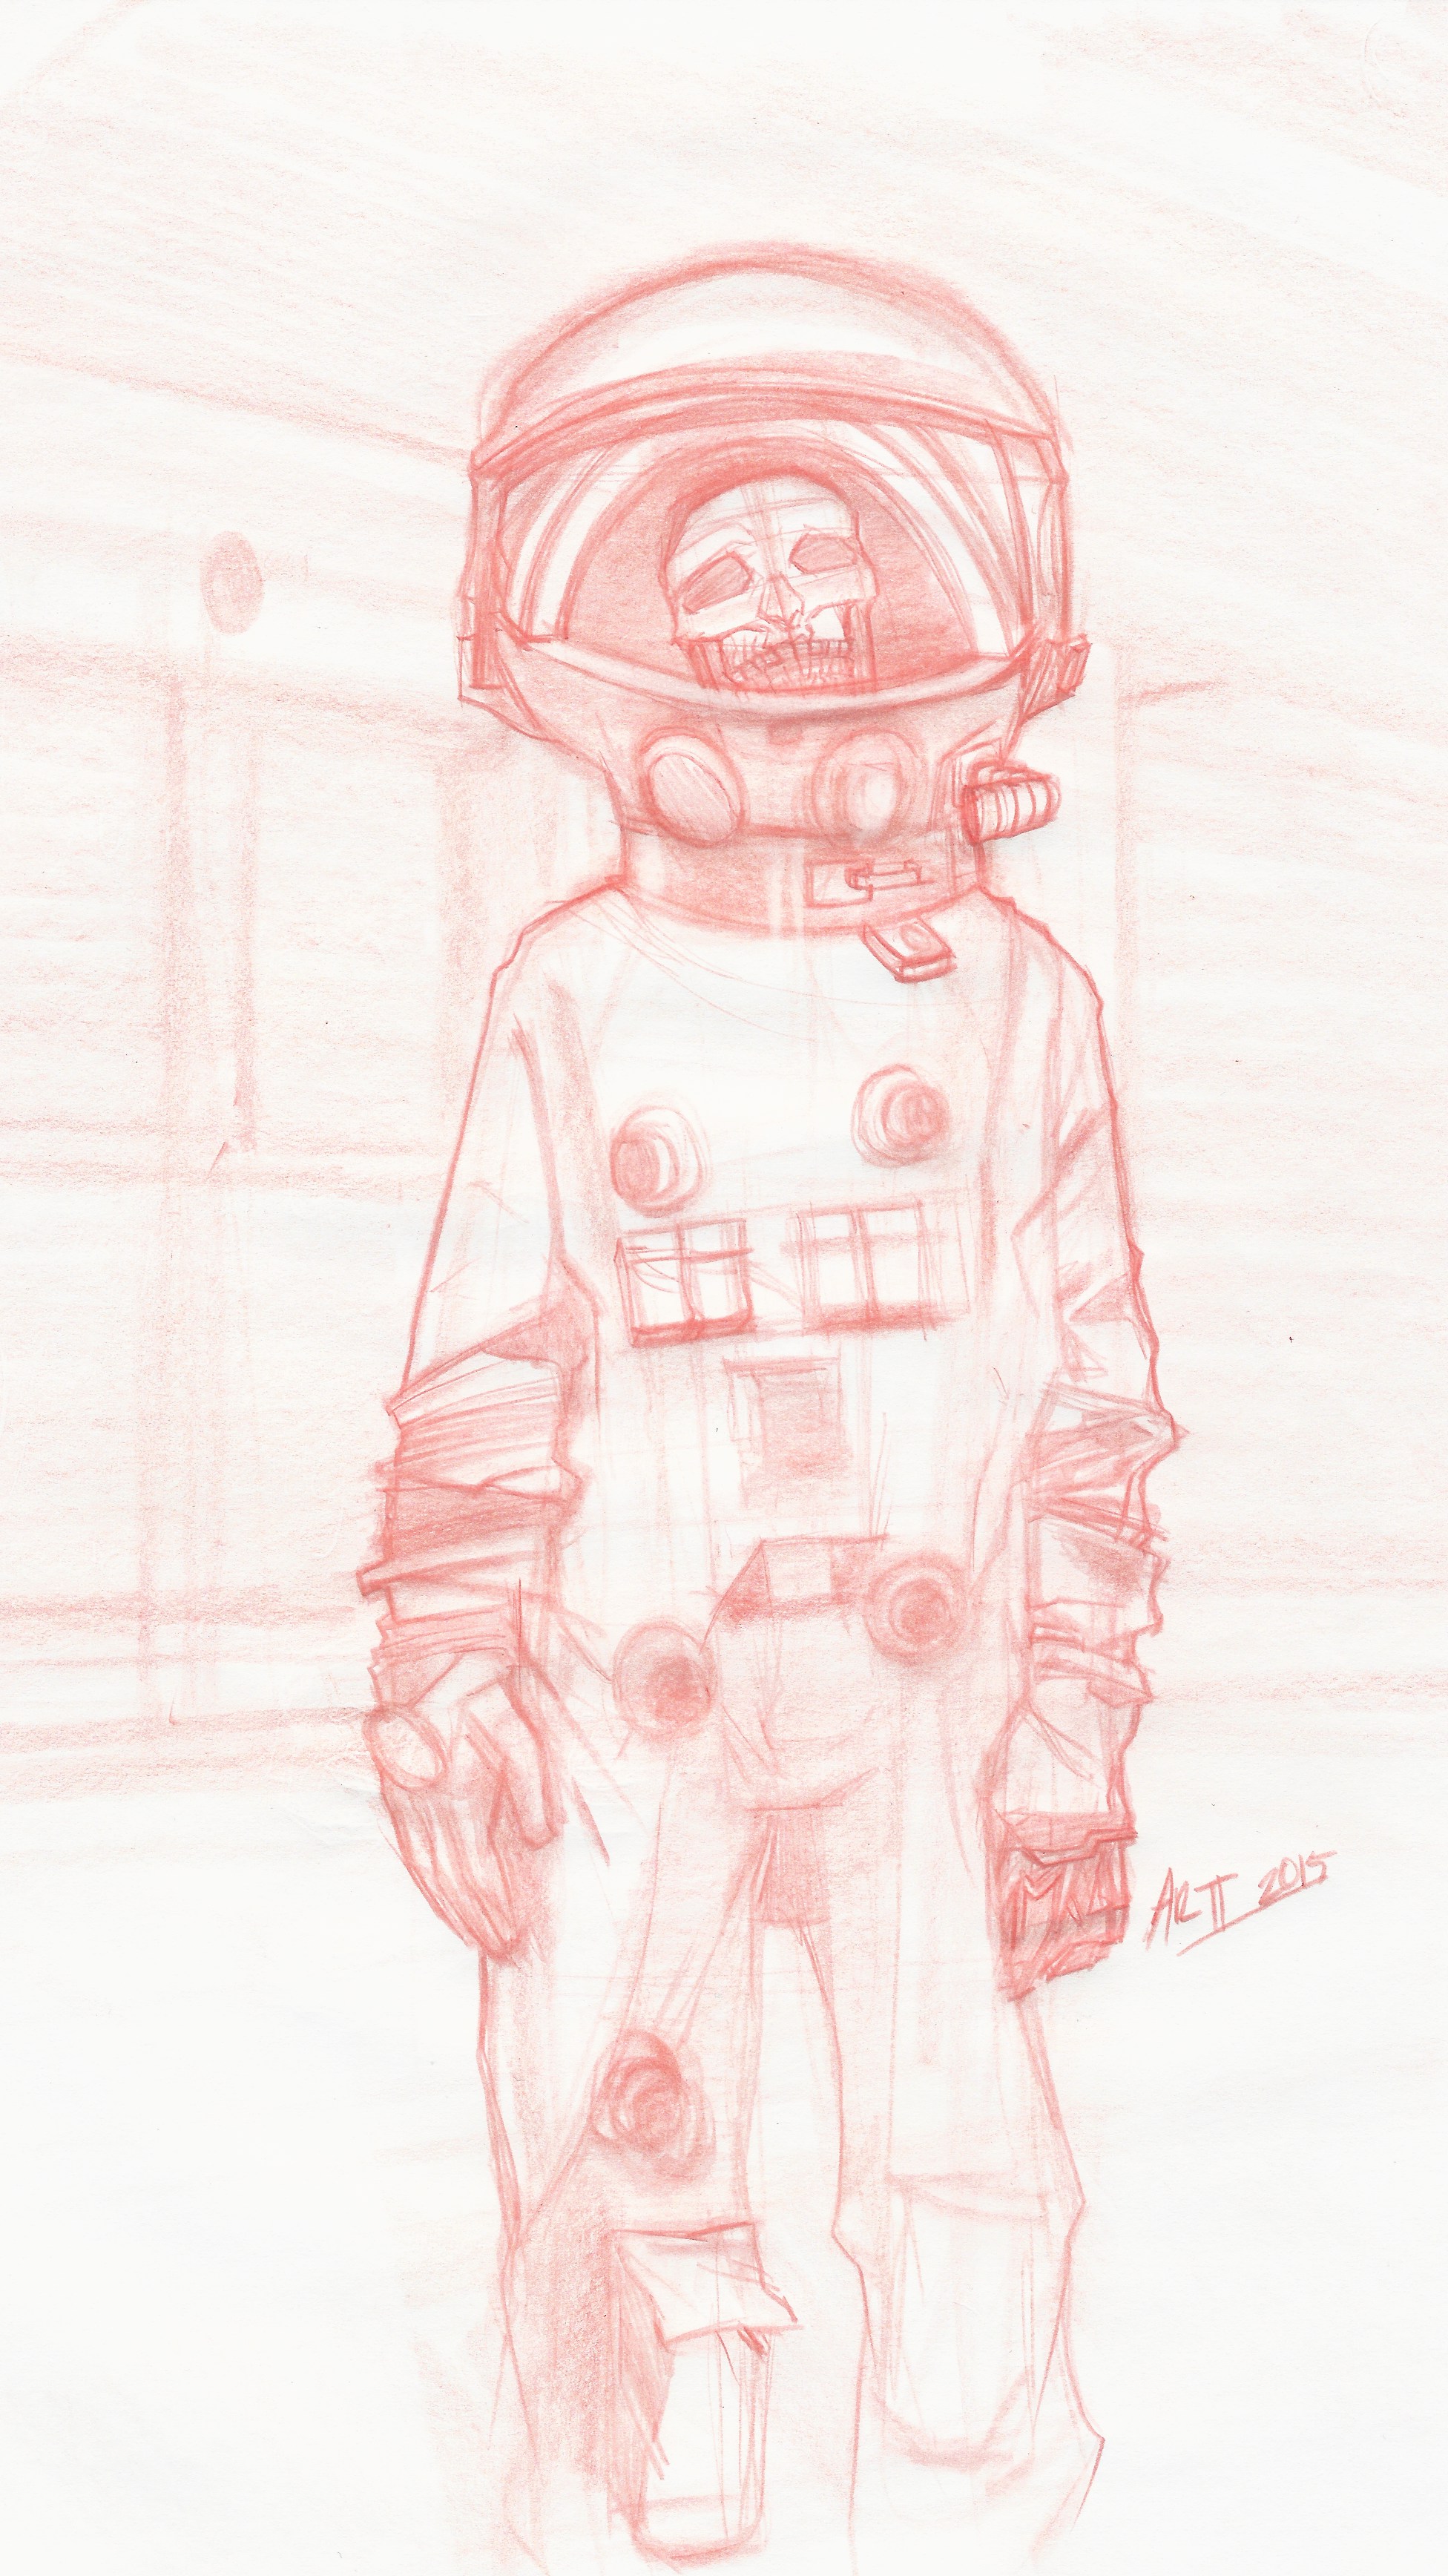
For the sketches, I draw with Prismacolor Col Erase Pencils on animation paper.  As for the finished illustrations, I paint with watercolor (Payne's Gray) or ink wash.

Being in this group as helped me tremendously.  The group is extremely supportive and, most importantly, inviting.  I highly recommend joining the Daily Drawing Challenge group (or a social media group like it) to enhance your productivity and networking skills.

Stay tuned for future posts!


Ideas for Tackling a Comic Script

Drawing from a comic script can be intimidating.  During my early studies of comics, I asked a ton of questions like:  Where do I start?  What camera angle should I use for this panel? Should this panel be small or large? What's the most effective page layout?  Although these questions are valid, the answers were staring me right in the face.  In good comic scripting, the panels are cleverly outlined for you.  It is the artist's job to interpret the writing into cool and interesting sequential images.  

During this stage, I rarely stick to my first idea.  I highly suggest throwing around a ton of ideas before committing to one.  Sticking to a problematic idea can lead to unnecessary stress and, ultimately, wasted time.    

Scribbling on the Script:

When dissecting a script, I read it multiple times then take notes.  Next, I loosely sketch out key moments in the panels.  

Panel sizes depend on the importances and information.  Establishing shots don't have to be the largest panel on the page.  They should be used to "establish" the props for the page.  In page one of this Texas Chainsaw Massacre script, I've ranked them by importance for panel sizing.  

  1. Panel four (4), "the reveal".  
  2. Panel one (1), establishing shot
  3. Panel three (3)
  4. Panel two (2)

Things to consider when planning a comic page:

  1. Number of panels on the page
  2. Story Beats in the script
  3. Description of the Establishing panel
  4. Main action for each panel
  5. Best camera angle to convey the appropriate emotion
  6. Pacing of the comic page
  7. Making room for Dialogue balloons 
  8. Creating a focal point in the panel
  9. Experiment with unique page and panel layouts

After I've plotted out my steps, I move on to the thumbnail stage.

Stay tuned for my next post!

Being Comfortable with Your Process

There is one universal question that circles art forums.  That question is:  What is your process?  Depending on the artist, the answer will be vastly different and unique.  Some artists work traditionally while others work digitally.  "Trial and error" plus personal preference are huge components when creating your step by step process.  For example, I prefer to draw my comic panels and illustrations on smaller paper (8.5x11 to 10x12) and ink, traditionally, on larger bristol board (11x17).

In this post, you will see how my drawing process was influenced by my favorite artists.

While in my senior year at Savannah College of Art and Design (SCAD), I had the pleasure of meeting Ben Caldwell, LeSean Thomas and Mark Schultz.  Within the Sequential Art Program, Professor John Paul Lowe taught me everything I know about inking in his Advanced Inking class.

Ben Caldwell

When I met Ben Caldwell, he was ALWAYS drawing.  He carried around Manila folders filled to capacity with drawings.  He didn't draw on glamorous bristol board or sketch with a super expensive pencil.  He drew comic panels, comic covers, and other illustrations on plain computer paper with a mechanical pencil.  A pencil that you can find at your near by Walgreens or CVS.  

LeSean Thomas

During my critique with LeSean Thomas at SCAD, we spoke about storytelling and process.  He dropped SO MANY gems on me that evening.  Midway through the conversation, we segwayed into a discussion about drawing comics on bristol board and how frustrating it was.  When he explained the importance of comfortability in your own process, it spoke to me.  Without the added stress of drawing directly on bristol board, he concluded that drawing on computer paper was much more relieving.

Mark Schultz

My comic mentor Mark Schultz (Xenozoric, Cadillac and Dinosaurs, and Flash Gordon) left a huge impression on me.  He is one of my main inking influences.  To learn about his brush techniques, I typed numerous emails packed with questions.  Whenever I got the chance to talk to him one on one, I would show him my inked sketches for him to critique.  The best advice he gave me was to practice A LOT and experiment with your tools.  He suggested that I:

  1. Try to make different textures by holding the brush far way from the ferrule
  2. Use the Dry Brush technique for unique textures
  3. Make a bold stroke with your brush, then try and make it into something by using trapping lines 

Professor John Paul Lowe

Last but most certainly not least, Professor John Paul Lowe introduced me to the Fine Art of Inking.  While in my last year at SCAD (Savannah), I chose to take Professor Lowe's Advanced Inking class.  I heard nothing but great things about his course.  With my passion for traditional inking, it was only right I register for his class.  In his class, we learned about traditional and digital inking techniques.  He stressed the importance of having a strong drawing before inking.  Professor Lowe taught us to:

  1. "Draw with the ink"
  2. Experiment with different mediums and mix them (digital and traditional)
  3. Practice all of the time

All of these awesome artists influenced my drawing process.  

Now, I would like to share my penciling and inking steps.

Pencil Steps:

  1. Draw on animation paper or computer paper with Col Erase pencils 
  2. Sketch loose and gestural in the beginning
  3. Tighten up the drawing for inking

Inking Steps:

  1. Ink with nib for line work 
  2. Use brush for hair, "thick and thin" lines, and feathering
  3. Paint with ink wash/watercolor for tones and shadows
  4. Overlay with white out for highlights, white lines and corrections

When creating your process, do what makes you comfortable.  If you like to work digitally, do that.  If you combine digital with traditional, by all means, continue those steps.  There isn't a top secret method of making a beautiful drawing.  The beauty is in the process.

Stay tuned for my next post!


Observational Drawing

Sketching at live drawing sessions or drawing from photos are great resources for practice.  These practices are significant because you will learn: form, value, tone, proportion, volume, perspective, and lighting.  To be a great artist, these skills are fundamental and hugely imperative.  The three (3) reasons to draw from life and/or photos are:

1. Observational study of 3D objects

Pretend you are a martian from another planet visiting earth.  Your assignment is to study human life and bring your newly found intel back to your home planet.  Equipped with your intergalactic sketching supplies, you are set to explore.  You stumble upon an apple.  Since you've never seen it before, you'll probably pick it up and rotate it.  You must observe every small detail, transferring it on a 2D surface, and bring it back to your planet. 

2. Lighting

Whether it's artificial or natural, lighting will dictate form, tone, value and shadows.  To depict lighting in a drawing, you need highlights, core shadows, reflective lights, and cast shadows.  Observing the object will help you determine the placement for these lights and shadows.  Mostly importantly, it will enhance the naturalism in your drawings.

3. Perspective

Perspective creates the illusion of depth.  When observing objects, notice how they are situated on a ground plane. Think of perspective in three (3) components: foreground, middle ground, and background.  It also helps with creating focal points in your illustrations.  

Here's my process of sketching Buster Keaton.

I begin sketching very loose and gestural.  I'm not really thinking about proportions, just yet.  

When I feel that I need to make corrections, I flip my paper upside down.  With this technique, I begin to fix uneven eyes, off centered contour lines, and other proportional issues.

After I've made my corrections, I begin to describe the form with cross contour lines.  Drawing Buster's tea cup can be tricky.  Without using perspective, the illusion of him sipping tea will be unsuccessful.  To depict this illusion, I tilt the cup using a slight 3 point perspective.

Now, I clean up areas and defining the contours of Buster's wrinkly face.

Next, I define Buster's clothing, tea cup and plate, and features (hands, ears, eyes, etc.).

For the train lever, I begin loosely sketching the shapes. Afterwards, I begin defining the planes and adding details.

Next, I add values and tones to describe the lighting on Buster, the tea cup and plate.  

Lastly, I add tones and small details to the lever and background elements using atmospheric perspective.

This is how it turns out!

By learning the fundamentals of drawing through this process, you will strengthen your concept art and environmental drawings.  


Stay tuned for my next blog post!